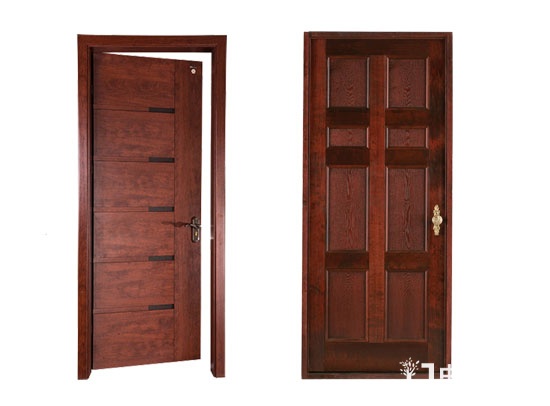
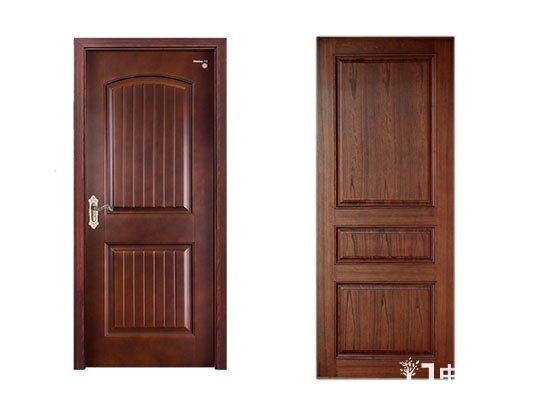
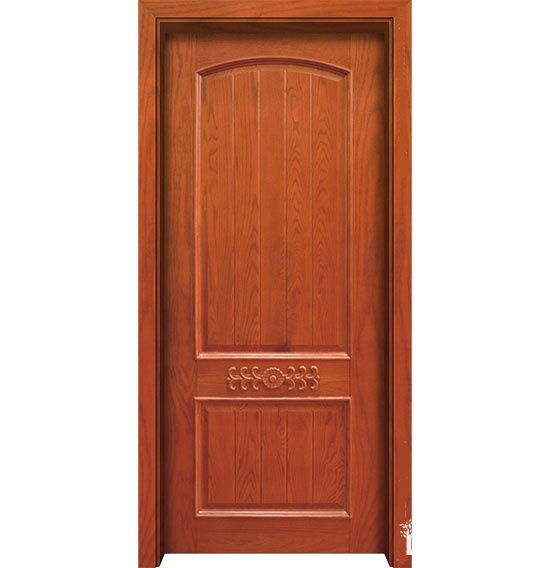
Solid wood doors have always been loved by consumers because of their environmental protection and value preservation. However, solid wood doors are also expensive because of the irreplaceable production cycle and production process, and the high cost of production. Some people may ask why the price of solid wood doors is too expensive. It is not known that the production process of solid wood doors is extremely complicated and the process requirements for workers are extremely high. In general, there are four steps: preparation - woodworking - painting - packaging, below we explain how these four are operated.

Solid wood door process - preparation
1. Drying of the board: the moisture content of the wood is controlled to 8%-10%, and the wood after drying is not prone to bursting deformation;
2. Balance: Put the dried wood for a period of time to restore the balance of the wood;
3, selection of ingredients: wood products hidden parts can be divided into external materials and crotch materials and dark materials. The exterior material is exposed to the outside, and the internal material is used inside the product, such as the inner and bottom plates. Dark materials refer to parts that are not visible under normal use, such as drawer rails, panel panels, and the like.
4. Rough planing: Thicken the wool board.
5. Wind shear: trim length of wool sheet. The blanking is lengthened by 20 mm according to the required length.
6. Trimming: Cut off the edges that cannot be used on the wool board.
7. Matching board: The wood board is divided into straight lines and mountain lines, and the colors are consistently matched. The width of the board is reasonable according to the required width. When selecting materials, remove the internal crack, end crack, thrift, blue, and dead wood.
8. Cloth glue: evenly spread the glue between the woods, the ratio of the glue: the ratio of curing agent (10-15 grams) and jigsaw glue (100 grams), about 500 grams per time.
9. Jigsaw: Use the jigsaw machine to assemble the wood, pay attention to the height difference, length difference, color difference, and thrift.
10. Aging: The wood finished with the glue is left for about 2 hours to allow the glue to solidify.
11. Sand Planer: Plan the excess glue between the wood so that there is no excess glue on the wood surface.

12. Saw and Width: Use a single-piece saw to set the width of the wood.
13. Four-sided planing: Plan the wood according to the shape you need.
14. Health: Place the wood naturally for about 24 hours.
15. Wide sand thickness: According to the requirements, the size of the sand meets the processing requirements. After the machine is finished, the sand is polished. The coarse sand is 0.2mm once and the sand is 0.1mm.
16. Fine cutting: fixed length of wool, no collapse and blackening during processing, no more than 0.2mm for long and wide processing, ≤0.5mm for diagonal below 1m, diagonal of 1m or more Should be ≤ 1mm.
17. Molding: Forming wood according to drawings. No cracking, burrs, skipping and blackening are allowed during processing. The surface of the parts should be smooth and flat. Check whether the screws of the equipment parts are loose before processing, whether the template is installed, whether the tool is tightly mounted, and the dimensional error of the parts does not exceed 0.2mm.
18. Drilling: Drilling according to the technical requirements of the drawings, no cracking or puncturing during the processing, the hole machining error shall not exceed 0.2mm, the product shall be matched with drilling, often test and diligently inspected. Ensure the quality of the product.
19. Accessories bolting sand: sanding fittings, smooth finished products should be smooth, no sand marks, and the corners are consistent. Before sand inspection, you should first understand the location of the parts, first sanding after filling the soil.
20. Group standing: assemble the parts that need not be disassembled, and prepare the materials before assembly, and check all the parts to be assembled according to the requirements of the drawings. The parts are free from chipping, burrs and blackening. After the first piece is installed, The assembly starts when there is no error between the compound rule and the drawing process. During the assembly process, the glue cloth is evenly distributed, and the semi-finished products are assembled. There should be no nailing or missing nails. The combination should be tight and the glue should be clean.
21. Large group: Check whether the parts are inspected and the drawings are in error. The difference from the group is that the finished product is finished.
22. Finished sand inspection: sanding the finished product, smoothing, no sand marks, and consistent corners.
23. Balance: Place the parts naturally for a while.
24. Painting on-line sanding: Re-grind the surface of the workpiece, especially the capillary fibers on the surface of the wood. At the same time, check whether the defects of the white body have been handled well, such as: poor repair, poor sanding, cracking, deformation, etc.
25. Blowing dust: blow off the dust on the surface of the workpiece. Door industry vision, your friend!
26, the first step in the painting process is to rub the color: you need to try to wipe first, to confirm whether the coloring agent is correct and appropriate. Before rubbing, the toner should be evenly mixed until there is no sediment. The brush used must be cleaned first. The wiped strip must be a strip that does not fade.
27. Bottom coloring: Select the background color according to the requirements of the swatch, and adjust the color difference between the materials through the background color.
28. Top primer: Blow the dust before spraying and check if the color is good. The first primer has a primer concentration of 16 seconds and the spray thickness is a cross.
29. Drying: Allow to dry for 6-8 hours after spraying.
30. Sand cleaning: first fill all the scratches, then gently sand it with 320# sandpaper, mainly to smash the burrs generated on the painted products.
31. Second primer: Dust is cleaned before spraying. The primer concentration is 18 seconds and the thickness is a cross.
32. Drying: Allow to dry for 6-8 hours after spraying.

33. Clearing the sand: First fill the defective place in place, then use 320# sandpaper to polish the smooth and smooth surface, and the paint surface should not have a large bright spot.
34. Three-degree primer: Dust is cleaned before spraying. The primer has a concentration of 16 seconds and a thickness of one cross.
35. Drying: Allow to dry for 6-8 hours after spraying.
36. Clearing the sand: Smooth the surface of the paint with 400# sandpaper, and the paint surface is not allowed to have bright spots.
37. Color correction: Before repairing, you must check whether the product is good or not. The dust and contaminants on the product should be cleaned up. The color is prepared by the technician, and a pre-production sample is repaired before the swatch, and the color is determined by the on-site supervisor.
38. Oil sand: The color-treated product has to be dried for 4-6 hours, and the surface of the product is smoothed with 800# sandpaper. Pay attention to the process of grinding to prevent leakage, color paint and other phenomena.
39. Topcoat: Before the topcoat, it is necessary to check whether the product is a good product, whether the surface of the product is smooth, and the surface dust and attachment must be cleaned. The topcoat is 11-12 seconds thick and has a thickness of one cross.
40. Dry: Wait 4 hours.
41. Inspection, visual inspection: Check whether the overall color matching of the products is consistent, and there should be no different depths. Under natural light, check whether the paint surface of the product is flat, whether there is sag, uneven spraying, orange peel and leakage spray, fog and so on. Hand touch: Touch the painted surface with your hand to check if the surface is smooth and if there are particles. I feel the texture and feel of the paint by hand.
42. Spot color: repair the flaw on the surface of the workpiece.
43. Blowing dust: blow off the dust on the surface of the workpiece.
44. Packaging: Packaging products.
Document.body.oncopy = function () { setTimeout( function () { var text = clipboardData.getData("text"); if (text) { text = text + " This article comes from China Wooden Door Network, China's well-known wooden door industry portal Website! (http://) Detailed reference: "+location.href; clipboardData.setData("text", text); } }, 100) }Aloe Oil,Jojoba Oil,Olive Oil,Cosmetics Essential Oil
Ji'An ZhongXiang Natural Plants Co.,Ltd. , https://www.jazxnaturaloils.com